Instructions: Images and Multimedia
This activity asks the students to add images and other mixed media elements to a page.
Images can be included on a page by using the image tag like so:
- <img src = "image url*">

*This attribute can also be given a local file location for an image stored on a computer but for the students' purposes internet urls should be used.
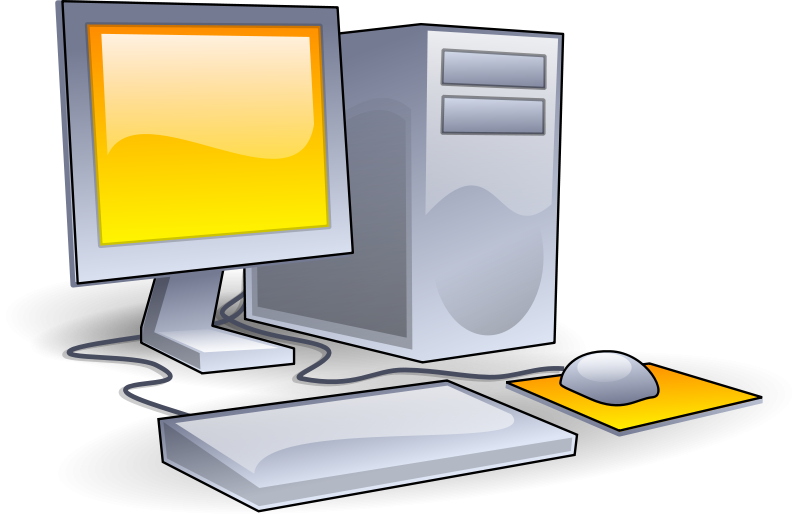
The full tag of the image above looks like this:
- <img src = "http://images.clipartpanda.com/computer-clip-art-Computer2_Computer_Clipart_Pictures.png" height ="20%" >
No closing tag is needed as there is no text being marked-up with this tag.
Also, the height and width of an image can be controlled by changing the height and width attributes like so:
- <img src = "image url" height = "100px" width = "100px" >

These attibutes can be given either exact pixel values or percentages that control how much of the screen the image will take up (for example, width="50%" will make the image half as large as the available horizontal screen space.)
Images can also be made into clickable links--simply put the image tag inside of a link tag instead of clickable text:
- <a href="link url"><img src = "image url"></a>

Other multimedia elements have their own idiosyncracies with how they are included on a page--gifs work just like a static image, while online videos and social media feeds usually have their own "embed" code provided by the host or service.
For example, on a Youtube video you would click "Share" and then "Embed" and copy the given line of HTML into the source code for a page. Some info about embedding Twitter feeds is found at this link (although a Twitter account is needed).
Click here to see an example of a page with multimedia elements (recall that you can click "Edit in JSBIN" to see the source and how the elements are embedded): EXAMPLE